UW-Stout/Nitrogen Starvation FA21
Contents
Nitrogen Starvation Experiment
Introduction
The purpose of this experiment is to test different variations of yeast and how they adapt to the pressure of starving them of nitrogen which is considered necessary for their growth and how the yeast reacts to alterations in media. If any strains of the yeast react better or worse to starvation and if they are able to grow efficiently without a nitrogen source available.
Protocol
Materials/equipment
- 15 plates of media that contains ammonium (nitrogen source)
- 15 plates of media that does not contain ammonium (no nitrogen source)
- 96 well plate
- Micro-pipettors
- Specialized multi-channel micro-pipette
- Micro pipette tips
- 6 PCR tubes containing wild yeast and 5 knockout strains
- 10-15ul of each yeast strain
- Sterile Water
Control: Every yeast strain will be put under the same control to see if their growth differs when placed in a plate containing media with a nitrogen source and placed in a media without of a nitrogen source.
Safety Note: Wear appropriate lab PPE (lab coat, goggles, gloves, etc.) there are no additional safety concerns for this lab.
Media Solution
- 1.71g YNB
- 0.65g CSM
- 10mL His
- 10mL Leu
- 10mL Ura
- 20g Agar
- 950mL H₂O
- Appropriate amount of NH₄
Procedure for Media Formulation
- In two separate 1/2L containers, two solutions of media with exactly 1/2 L each will be made. One with NH₄ and one without.
- Add the required amount of water followed by all required ingredients in descending order from the materials section.
- Place media solutions in Steam Sterilizer Machine for about 40 minutes.
- Plate the media into the required amount of plates needed and evenly spread.
Calibration experimental procedure
- Obtain all necessary materials and make sure equipment is functional and ready for use.
- Obtain 2 media plates for the wild type strain, 1 plate with ammonium and 1 plate without ammonium for each strain.
- Label all media plates and PCR tubes.
- Add 10-15ul of each yeast strain being tested into each PCR tube.
- Using the 96 well plates take your the wild type yeast strain being tested and add 10ul of wild type yeast and 90ul of sterile water into the first well.
- Mix thoroughly by pipetting the mix in the well up and down several times.
- Take 10ul from the first well and place it in the second well and add 90ul of sterile water to the second well.
- Repeat the steps of mixing each well thoroughly and continuously repeat the dilution process in the succeeding wells until you reach a total of 8 wells filled with your diluted yeast strain.(this should give concentrations of .1, .01, .001, .001 in the succeeding wells)
- Using the specialized multi-channel Micro-pipettor, take 5ul from all 8 wells and place it on each of your 2 media plates for that strain. (you can place more than one row on each plate for best results)
- After your dilutions have been plated, place the 2 plates in the incubator for at least 48 hours to let the yeast grow.
- After removal from the incubator, inspect your yeast plates to see any differences between the separate media for the wild type strain.
- Record results
Raw Data from Calibration Experiment
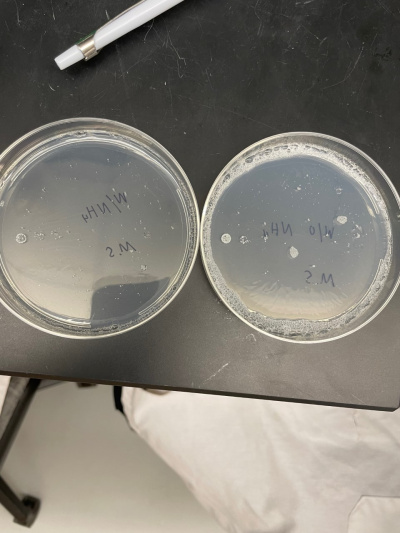
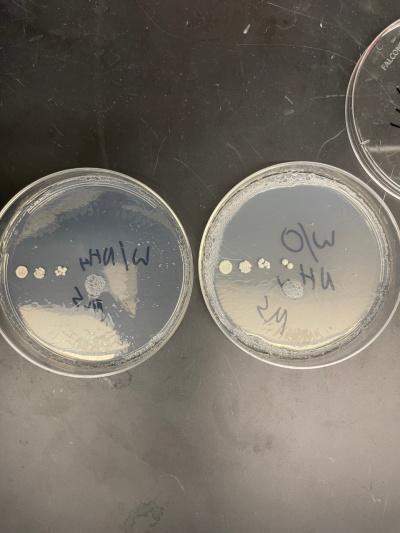
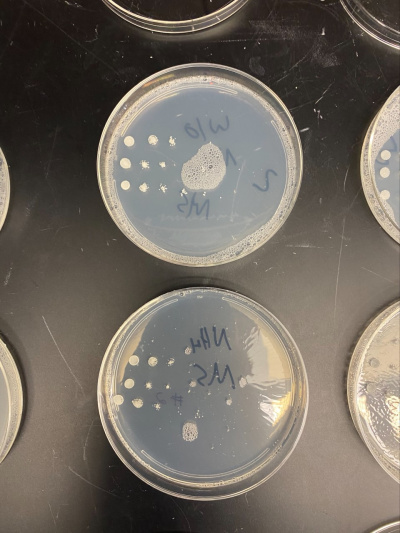
- There was no significant growth in the calibration experiment when it was between the plate with Ammonium and the plate without. The wild-type yeast did not seem to be stressed from the Nitrogen Starvation.
- In this trial, we had done the same procedure and had the exact results. The only difference is the size of the colonies, but that is not trivial information to our experiment.
Final Experimental Procedure
- Obtain all necessary materials and make sure equipment is functional and ready for use.
- Obtain 2 media plates for each yeast strain, 1 plate with ammonium and 1 plate without ammonium for each strain.
- Label all media plates and PCR tubes.
- Add 10-15ul of each yeast strain being tested into each PCR tube.
- Using the 96 well plates take your first yeast strain being tested and add 10ul of yeast and 90ul of sterile water into the first well.
- Mix thoroughly by pipetting the mix in the well up and down several times
- Take 10ul from the first well and place it in the second well and add 90ul of sterile water to the second well.
- Repeat the steps of mixing each well thoroughly and continuously repeat the dilution process in the succeeding wells until you reach a total of 8 wells filled with your diluted yeast strain.
- Using the specialized multi-channel Micro-pipettor, take 5ul from all 8 wells and place it on each of your 2 media plates for that strain. (you can place more than one row on each plate for best results)
- Repeat steps 5 through 9 for each strain being tested.
- After your dilutions have been plated, place all the plates in the incubator for at least 48 hours to let the yeast grow.
- After removal from the incubator, inspect your yeast plates to see any differences between the separate media for each strain and if certain strains worked differently than others.
- Record results
Results
Group Results
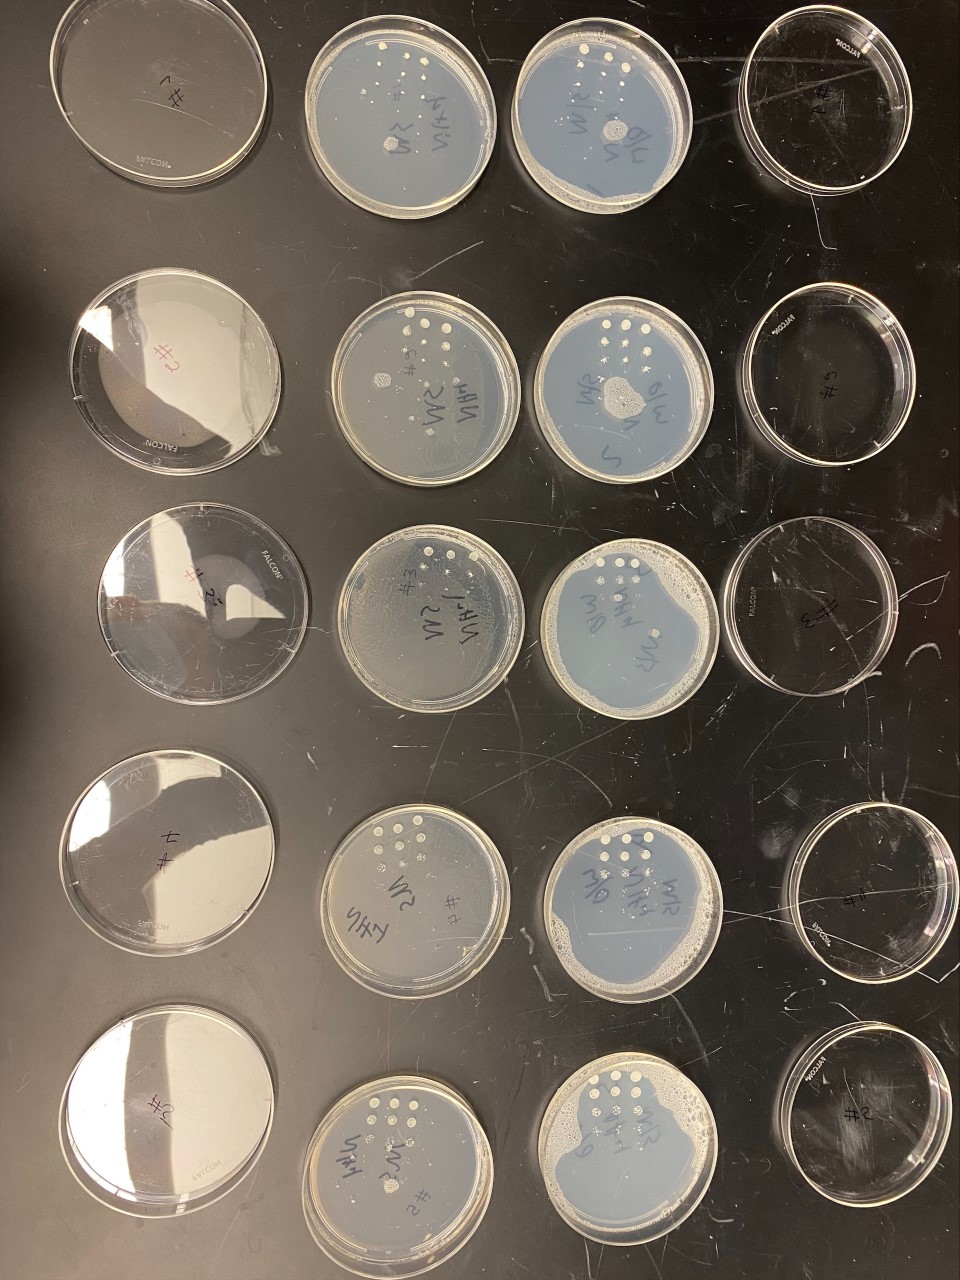
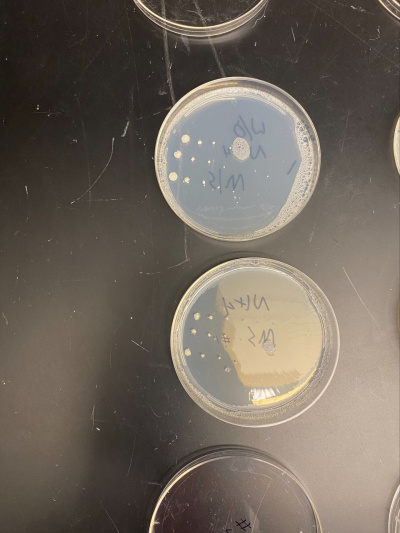
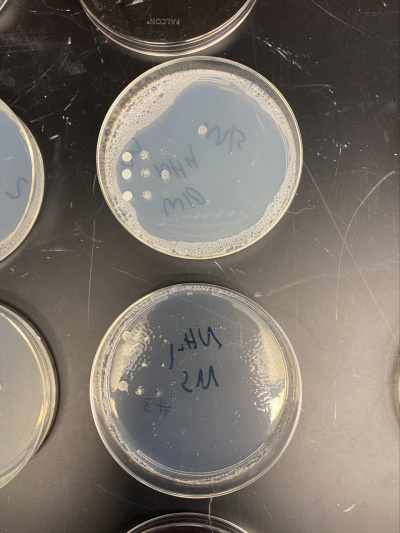
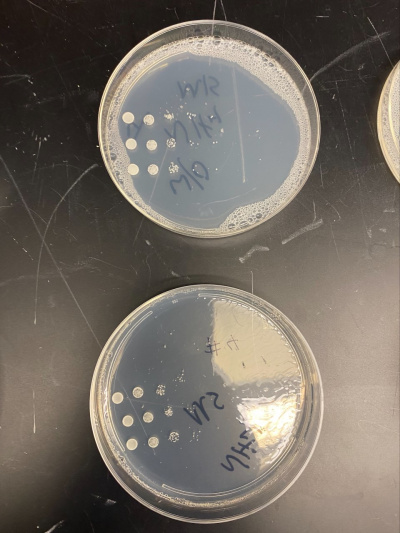
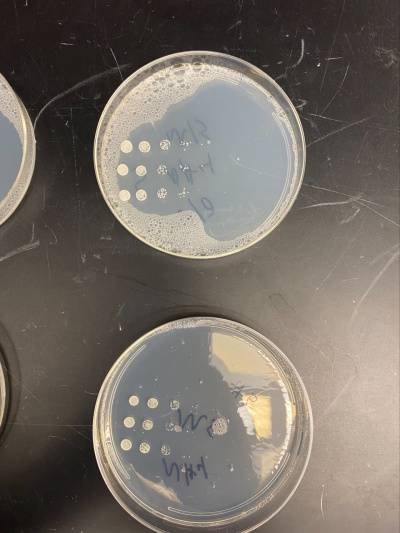
All of the yeast strains we tested had very similar results in growth and appearance. There were no significant differences between the yeast tested and none of the strains seem specifically stressed by the nitrogen starvation procedure. In order for a possibility of a more in depth conclusion the yeast would have to be put in incubation longer and more trials would need to be run. We infer that the reason why we got the similar results that we did was because there was still a nitrogen source present because the yeast cannot grow at all without any nitrogen source and although we added additional to a plate, it did not seem to make a significant impact on our data.
